I've been wanting to print on clothing for awhile. I wanted to try the freezer paper method and this was a good opportunity for me to try. My friend is getting married and we planned a shower for her. We had brunch and went wine tasting...
Back when I got married, we partied. Now, most of us have little children and hardly have time to escape the house. We kept the event local and part day. I had planned to pump in the parking lot but ended up not having to... not that it would be the first time!
Anyway, the wedding theme is Nautical (is that what it's called?)... so I wanted to make personalized tanks for the girls. My best friend came to help with her Cricut Expression so that we have 2 to work with... well, I haven't used mine in a long time and I was not having the best of luck not to mention, my little boys kept interrupting. Things didn't work out...
Instead of going to bed like I should have, I decided to google about the Cricut Explore Air (latest model). I just love the idea of having your own fonts and art available to use. It didn't take long for me to run to the nearest JoAnn's during lunch the next day to buy one! My justification was that it's a birthday gift for myself even though my birthday isn't for another 2 weeks :)
I was limited with time so I rushed through this project!
There are tons of tutorials that use freezer paper without a cutting machine. You simply print your design on regular paper, trace it onto freezer paper and then cut it with a craft cutter.
For some reason, I purchased the Glitter (far right in photo) fabric paint thinking it's opaque. It's not. It's clear. Even though the bottle was white. UGH. So I was only able to paint the bride's tank since the blue paint was okay.
After I ironed the freezer paper to all the tanks, I painted the white tank and waited until the next day to finish the rest.
I had 10 tanks to make and it was recycle day soooo... hubby threw out all the cardboard I wanted to use under the layer of the tank so that the paint doesn't bleed through to the back. I used paper which kinda stuck to the shirt when I pulled off but it was fine for what I needed it for. Oh, do you see the sailor hat in the middle of the photo? I almost forgot that I had to make something out of that too! haha... don't worry, I eventually got to it.
I poured the paint on a little paper plate and used a sponge brush to apply the paint on the freezer paper stencils. I placed paper inside the shirt to prevent bleeding. I think cardboard would work better or even freezer paper on the other side...
After it dried a little, I went over it with another coat. I think it could have used one more coat but I really ran out of time because it needs 4 hours to dry flat. The kids will be home and I need it off my dining table... so two coats, it is!
I peeled off the stencil and admired it for a little bit and thinking of ways to improve it next time. Well, I plan to make personalized tops for my boys!
So... with the sailor hat. I printed a smaller stencil of the same anchor and painted that blue. I put a gem on the top of the anchor. Then I glued lace around the hat using a hot glue gun. Using white tulle, I hot glued those suckers to the back and glued 3 flowers over it. Viola!
And here we are wearing them!
Okay, that wasn't the whole group. Some of us wore dresses. Aren't they cute too? All navy too!
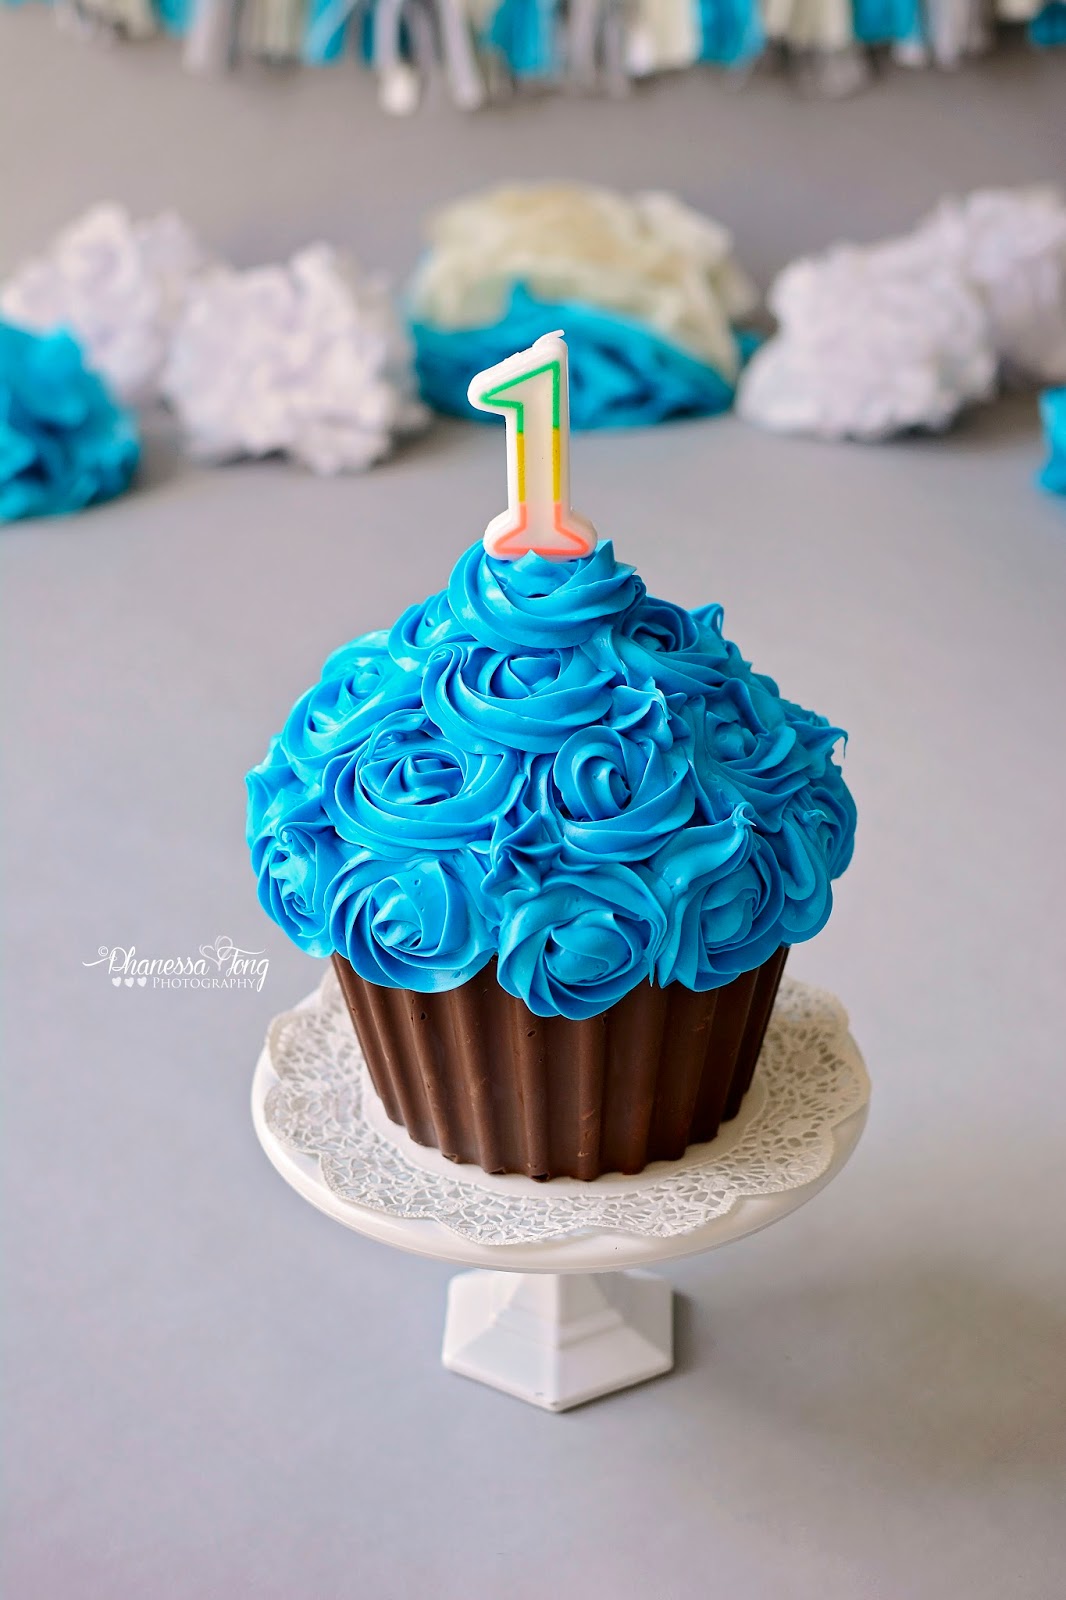
I started my cake smash sessions purchasing small cakes. There weren't a lot of choices and I often feel disappointed with them.... so I was on a mission to learn to do it myself! I absolutely LOVE the giant cupcakes. I still have a lot to learn and hopefully I get to the point where I can create all sort of different kinds of designs (some day!). For now, I'm happy starting to accepted and be okay with what I've got. I use mostly cake mix and canned frosting (I'm still experimenting with different types of homemade frosting).
SUPPLIES:
Cake
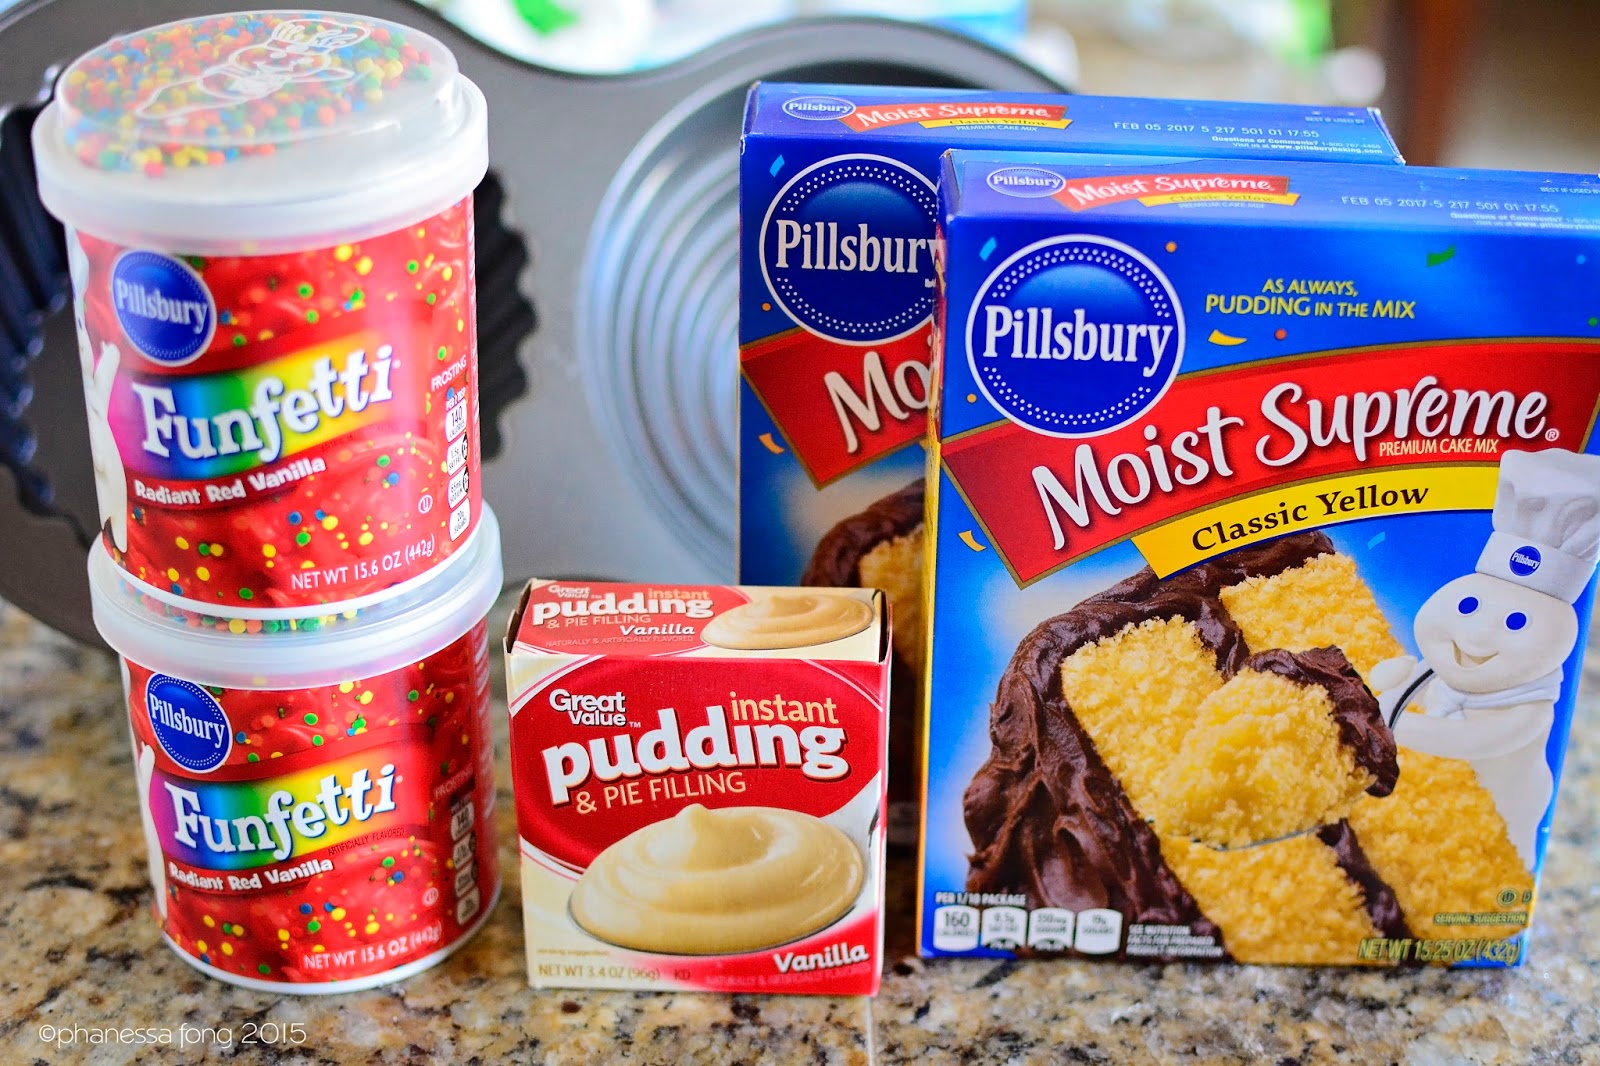
2 Boxes of Yellow Cake Mix
6 Eggs
1 Package Jello-O Vanilla Pudding Mix
1 Cup of Oil
2 Cups of Water

Giant Cupcake Pan/Mold
 Frosting
2 Cans of Frosting (color of your choice)
Chocolate Cupcake Liner
1 lb Candy Melts (I use a little less than 1 pound.)
Microwavable bowl

DIRECTIONS:
CAKE:
1) Preheat oven at 325°. Combine cake mix, oil, water , pudding mix & eggs into a large bowl and blend.
2) Grease the cupcake pan (I used nonstick spray). According to Wilton's website, fill the cone portion (top) with 2.5 cups of batter & the other part (bottom) of your pan with 3.5 cups of batter. I followed this and it turned out fine.
3) Bake for 60 minutes, turning the pan once halfway (at 30 minutes). It always comes out a little too done in my oven so I bake it at 50-55 minutes. I guess it depends on your oven.
4) Let cool in pan for 15 minutes before removing onto a wire rack for cooling.
5) Once cooled completely, slice off the raised parts of the cake to level it. Do it for both the pieces. If you are using a cupcake liner, trim off the sides of the bottom piece too. Trimming just the "bumpy" parts works for me. This will allow the cake to fit into the liner.
CHOCOLATE LINER:
1) In a microwaveable bowl, place the candy melts into the bowl (I used a glass measuring cup).
2) Microwave the candy melts for 30 seconds on high. Remove it and stir. Repeat 2 more times or until all chocolate has melted. Mine always take 3 times (3x30 second intervals). Every microwave is not created equal!
3) Spread the chocolate on the bottom portion of the cake pan & up the sides. Just try to spread it as evenly as possible.
4) Refrigerate for at least 40 minutes. This is important. I tried taking it out after 15 minutes the first time and cracked the liner. I was so worried this wasn't going to work. All it took was some time and patience. :) You may be able to stick it in the freezer but I don't have room in my freezer! haha
5) Remove from the refrigerator and turn it upside and and gently tap the pan. It will slide right out (I promise!).
6) Place the bottom part of the cake in the liner.
FROSTING:
1) Dump the cans of frosting into a bowl and use a hand mixer to blend it.
2) Apply some frosting to the top of the bottom portion of the cake (that should already be in the chocolate liner) and place the cone part on top. The frosting is your "glue".
2) Using a piping bag and a 1M piping tip (for rosettes), pipe Rosettes all around the top portion of the cake (starting at the bottom). I find that piping it lower looks better. Piping each rosette in between the bottom two makes for a prettier design.
The canned frosting was droopy and looked like it was melting but refrigerating it overnight made a difference. The first time I made it, I thought I was going to have to run to the store the next morning!
3) Decorate or top with a candle.