Friday, July 25, 2014

DIY Baby/Toddler Pants

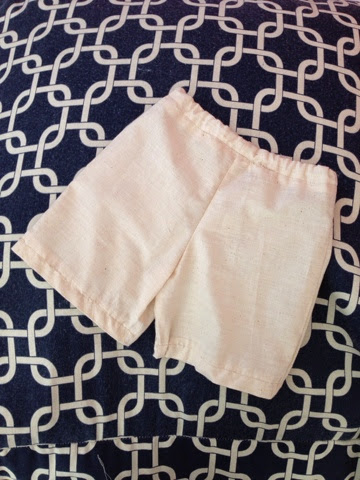
I love the natural look of cream and whites in photos. As i'm thinking of ways to get my boys in one photo (probably not going to happen!) with their new baby brother (coming in September), I want them to be shirtless and matching... I was thinking jeans or white/cream pants. I was in the fabric section of Walmart and saw this fabric for $1.97 a yard! It was some type of thin Muslim fabric but I loved the texture and lightness of it.


I pinned this tutorial so long ago because I really meant to make some pants for my oldest son but I just never got around to it. I wanted shorts so I didn't print the pattern...

I dug out a pair of shorts for each of my boys and used that as a template for the pattern. 


Lay shorts on fabric and trace around shorts. I layered 4 pieces so I can cut them all at once. 


Cut around leaving some space for seam allowance. You should have 2 sets, one for the front of the shorts & one for the back of the shorts (4 total). 


Sew each set from waist to crotch. 


Surge raw edges (I don't have a surger) 
or use zig zag stitches to sew the edges. 
I had too big of an allowance too so I had to trim it. 


Iron seams and open them both up. With right side on the inside, line up the shorts to start sewing the inside seam. 

Pin the inside of shorts (I forgot to take a photo) and sew insides of shorts from crotch down to opening of short legs. Iron seams again. 


Next, pin the sides of the shorts & sew. Don't forget to surge or sew zig zag stitches on the edges. 


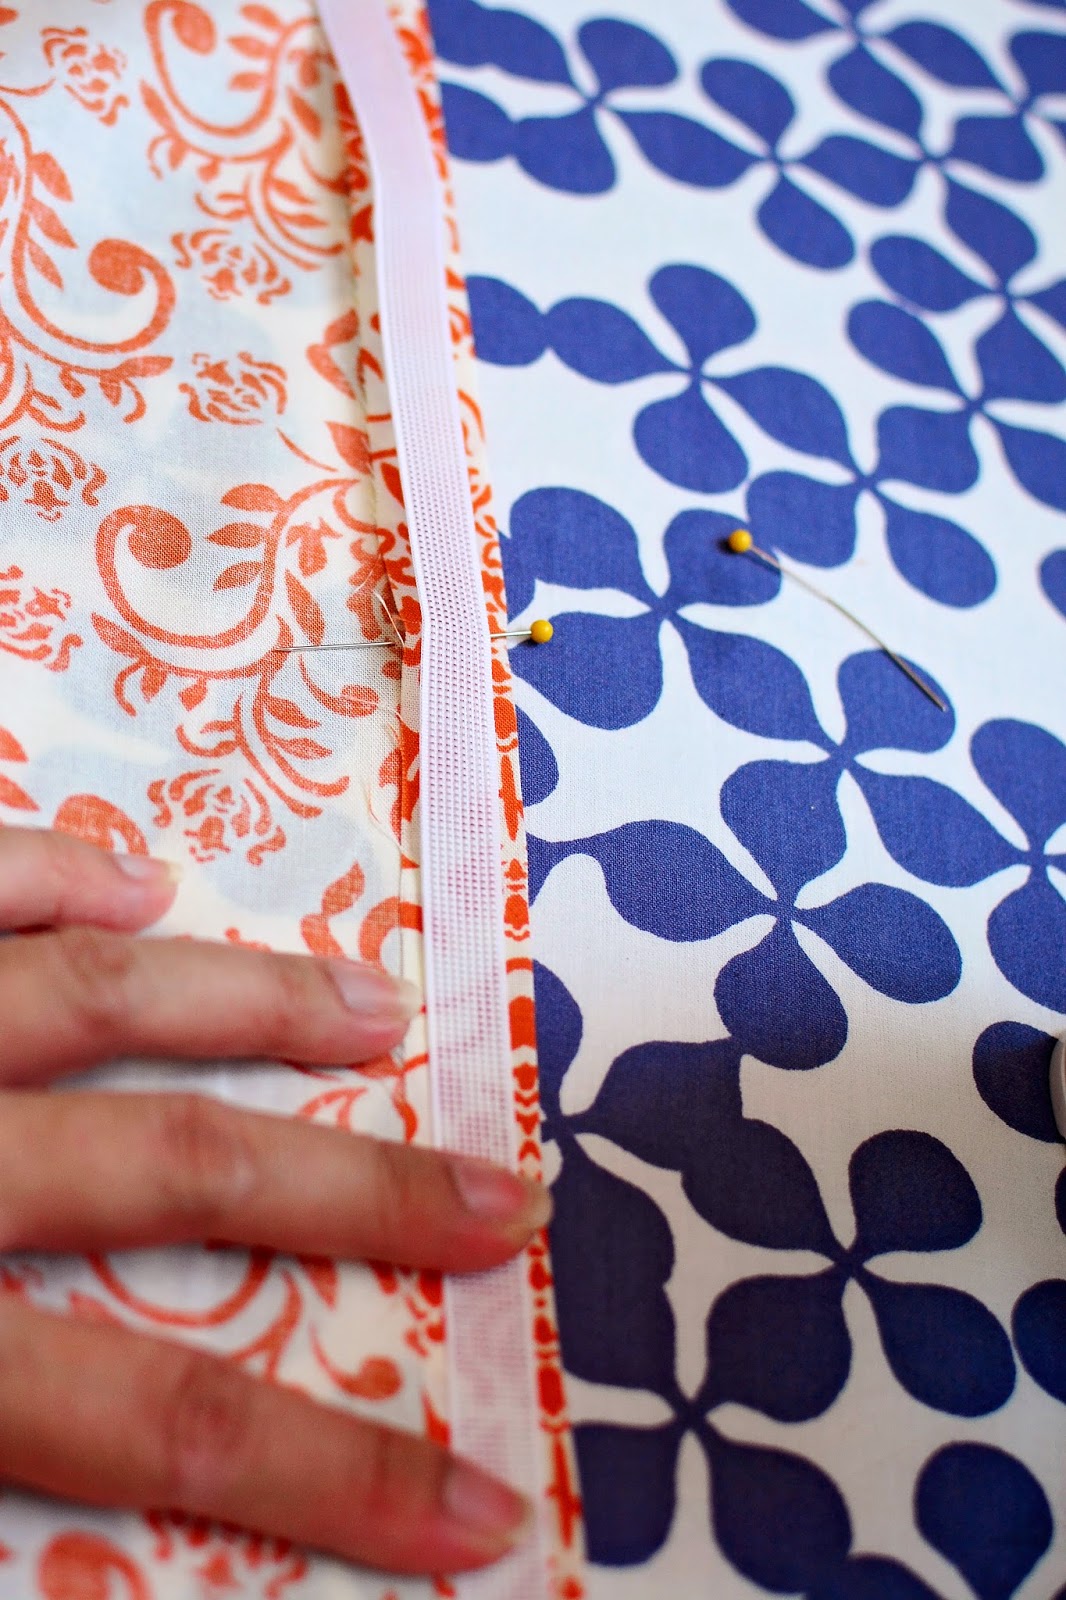
Next, surge or sew zig zag stitches to the edges of the waist and fold towards inside leaving enough room for the elastic band. I placed the elastic on shorts to make sure I fold it far enough down.


Sew the shorts leaving an opening to insert elastic later.


Use a safety pin to pin the elastic and feed it through.


Make sure the elastic is not twisted 
and pin both ends together so you can sew it.


My little man with the shorts on.


Thursday, July 17, 2014

DIY Nursing Cover


I've made a few of these when I had my first son. I've since gave them away. I find that I really don't like using nursing covers. I used it less with my 2nd baby. It really is more of a hassle than it's worth but I figured I should have one in case I need it. 

I don't know if Pinterest was around when I had my first son so during that time, most tutorials I found was saved under my favorites on the web... remember that?!? Life without Pinterest? That being said, I don't remember where I got the original tutorial from but it was similar to this tutorial.

I was having so many issues with my sewing machine that my thread was bunching, loose then too tight... I re-threaded both top and bottom,  cleaned the darn machine and researched on trouble shooting. In the end I gave up because I have too many unfinished projects to let this one be another! So please excuse all the imperfections (not that I'm great at it to begin with but I'm sure not this bad!).

MATERIALS:

Fabric (about 1 yard)
Boning (14-16 inches)
1 set of D rings
Coordinating thread


INSTRUCTIONS:

Cut your fabric into 3 pieces:

Short Strap 4.5 x 10 inches 
Long Strap 4.5 x 25 inches

Cover 30 x 40 inches

Boning 14 inches


1) Fold your straps in half length wise (right side in) and sew along edges


2) Turn fabric inside out so right side of pattern on fabric is on the outside. I've used chopsticks and a tension rod before. This time I had the tension rod out so that's what I used. 

3) Press with iron so that seam side is in middle


4) Attach D rings to the shorter strap


5) Press the edges (length wise) and place boning curve away from you. Once you fold the fabric over the boning, the curve will be in the right direction


6) Add straps and sew along edges. (I actually forgot this step so I sewed the strap on top of my already sewn edges. Again, I was too lazy to take apart and redo!)

7) Press along all other remaining edges and sew


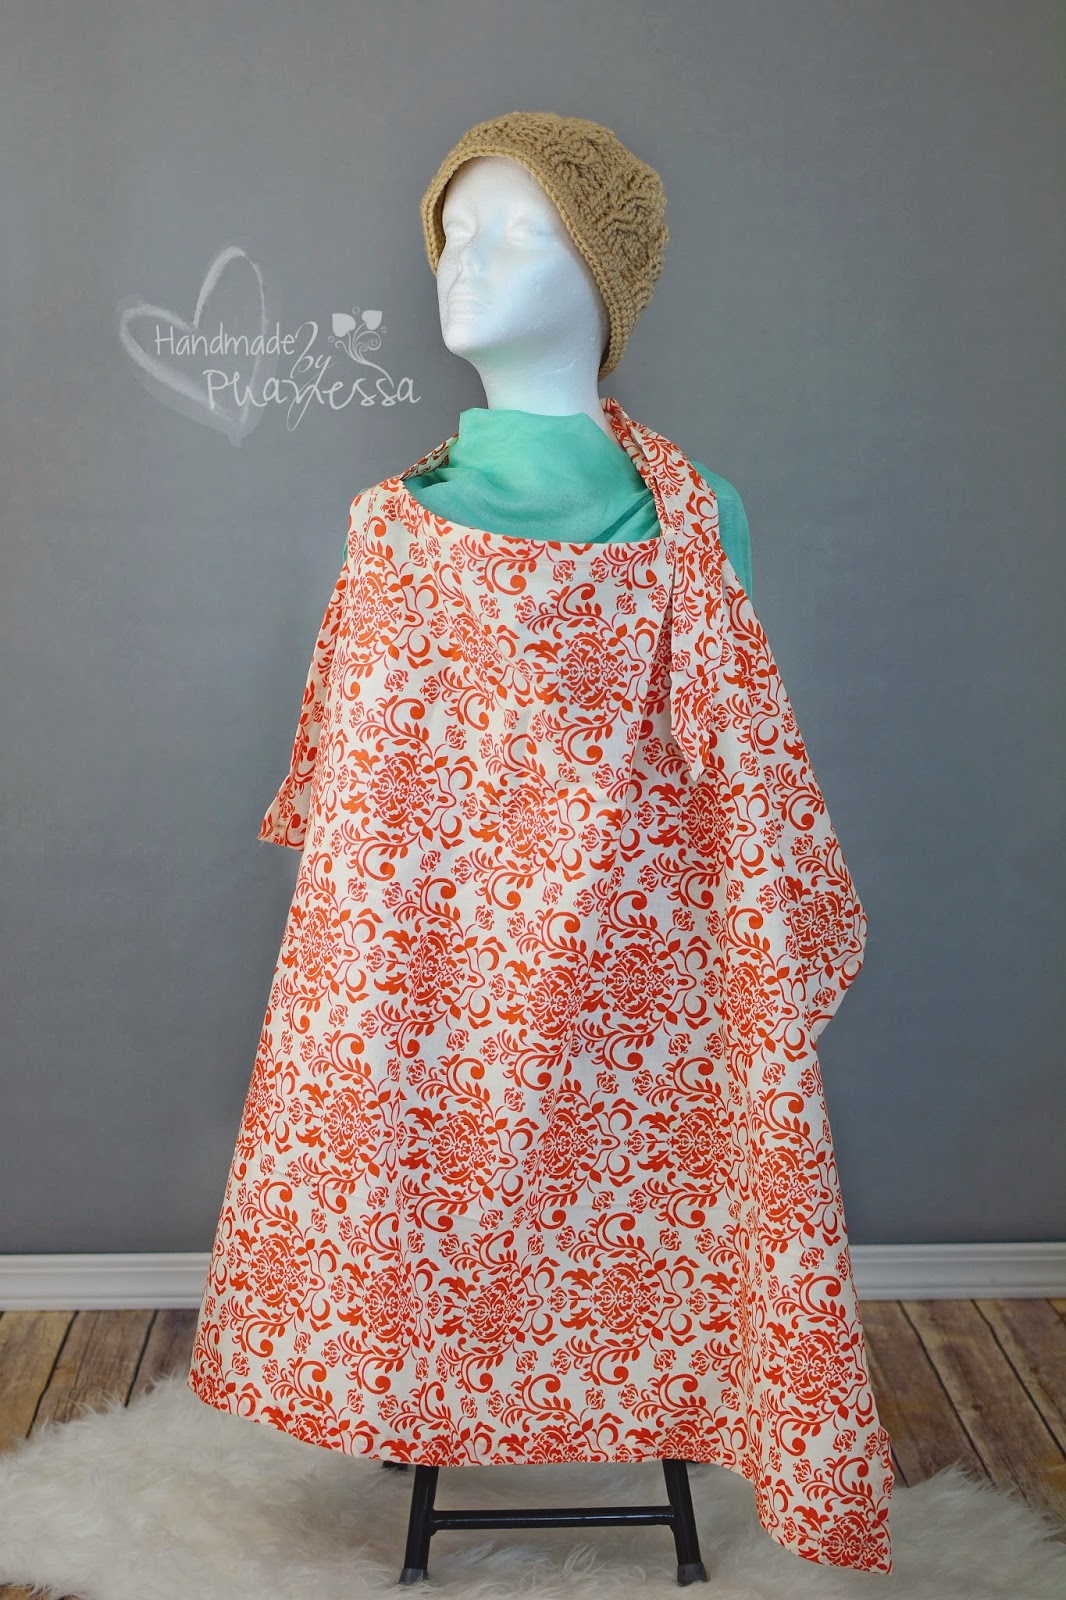
My very cooperative head wearing the final product!


Friday, July 11, 2014

Reading Nook

In our home, we make it mandatory to read to our kids every night. I wanted to create a space that was his own. Back in 2012 I made the Pillow Mattress and picked up a few other things at Ikea to make this reading area for my 2 year old.

The following Items are from Ikea:

Bookshelf
Sheer curtains (hangs from ceiling)
2 Lack Coffee Tables (zipped tied) for the bench
Pillow Mattress that I made using sheets & pillows from Ikea 

There are two canvas bins below to store his toys. I purchased these at Walmart. You can get them anywhere but these were on clearance for $4-5 each!

I placed one of those anti slip things for your drawers on top of the bench to prevent the pillows from slipping. I also added some old throw safari pillows from Target on there.


Logan at 2 years old enjoying his reading nook


He's now 4 and prefers to read sitting on a chair lol and stores his stuffed animals on the bench but that's okay. He enjoyed it when I first made it :)

Pillow Mattress


I made this Pillow Mattress 2 years ago following this tutorial (dead link now! Boo!) 
I use it for my son's reading area is his bedroom. 
I pretty much followed the tutorial even shopping at Ikea! haha


The pillows were too soft. I purchased the pillows because they were $1.99 each! I have used them for batting too (stuffing crochet projects)!

You can use these pillows for so many things. 
They were easy to make if you use seams that are already on the sheets. 
There's very little hemming that way. 


Tuesday, July 8, 2014

DIY Fabric Yarn

I had a project in mind and headed to the local Goodwill. I found a large (King size maybe?) sheet for $2.  

My project was a complete fail so I had to come up with something else to do. What was it? I'm too upset to talk about it. Boo! Anyway....

I needed a crochet basket for my newborn photos in September. I had plenty of fabric from just a portion of the sheet to turn it into fabric yarn. 

MATERIALS:

Old sheets (or any fabric)
Scissors
Ruler
Stick (I used a chopstick)


DIRECTIONS:

Cut off the edges (hems).

Cut a slit about 1.5 inches wide and start tearing (don't tear completely to other end!). Stop about 1.5 inches from edge. 


Measure 1.5 inches from where you tore. 


Repeat the tearing process (my favorite part!) getting one long piece (it will be in a zig zag ish shape). 


Tie one end to the stick and wrap it around twisting fabric as you wrap. 


Update 7.10.14 - I found that rolling it on a stick and twisting it wasn't working for me. So i just rolled it into a ball for the additional fabric I need to complete my project. It's really a personal preference. :)

Tada! I had to use something for contrast. The fabric is the same color as my carpet! 


Now I need to start my crochet bowl.