I've made a few of these when I had my first son. I've since gave them away. I find that I really don't like using nursing covers. I used it less with my 2nd baby. It really is more of a hassle than it's worth but I figured I should have one in case I need it.
I don't know if Pinterest was around when I had my first son so during that time, most tutorials I found was saved under my favorites on the web... remember that?!? Life without Pinterest? That being said, I don't remember where I got the original tutorial from but it was similar to this tutorial.
I was having so many issues with my sewing machine that my thread was bunching, loose then too tight... I re-threaded both top and bottom, cleaned the darn machine and researched on trouble shooting. In the end I gave up because I have too many unfinished projects to let this one be another! So please excuse all the imperfections (not that I'm great at it to begin with but I'm sure not this bad!).
MATERIALS:
Fabric (about 1 yard)
Boning (14-16 inches)
1 set of D rings
Coordinating thread


INSTRUCTIONS:
Cut your fabric into 3 pieces:
Short Strap 4.5 x 10 inches
Long Strap 4.5 x 25 inches
Cover 30 x 40 inches
Boning 14 inches
1) Fold your straps in half length wise (right side in) and sew along edges

2) Turn fabric inside out so right side of pattern on fabric is on the outside. I've used chopsticks and a tension rod before. This time I had the tension rod out so that's what I used.
3) Press with iron so that seam side is in middle


4) Attach D rings to the shorter strap


5) Press the edges (length wise) and place boning curve away from you. Once you fold the fabric over the boning, the curve will be in the right direction
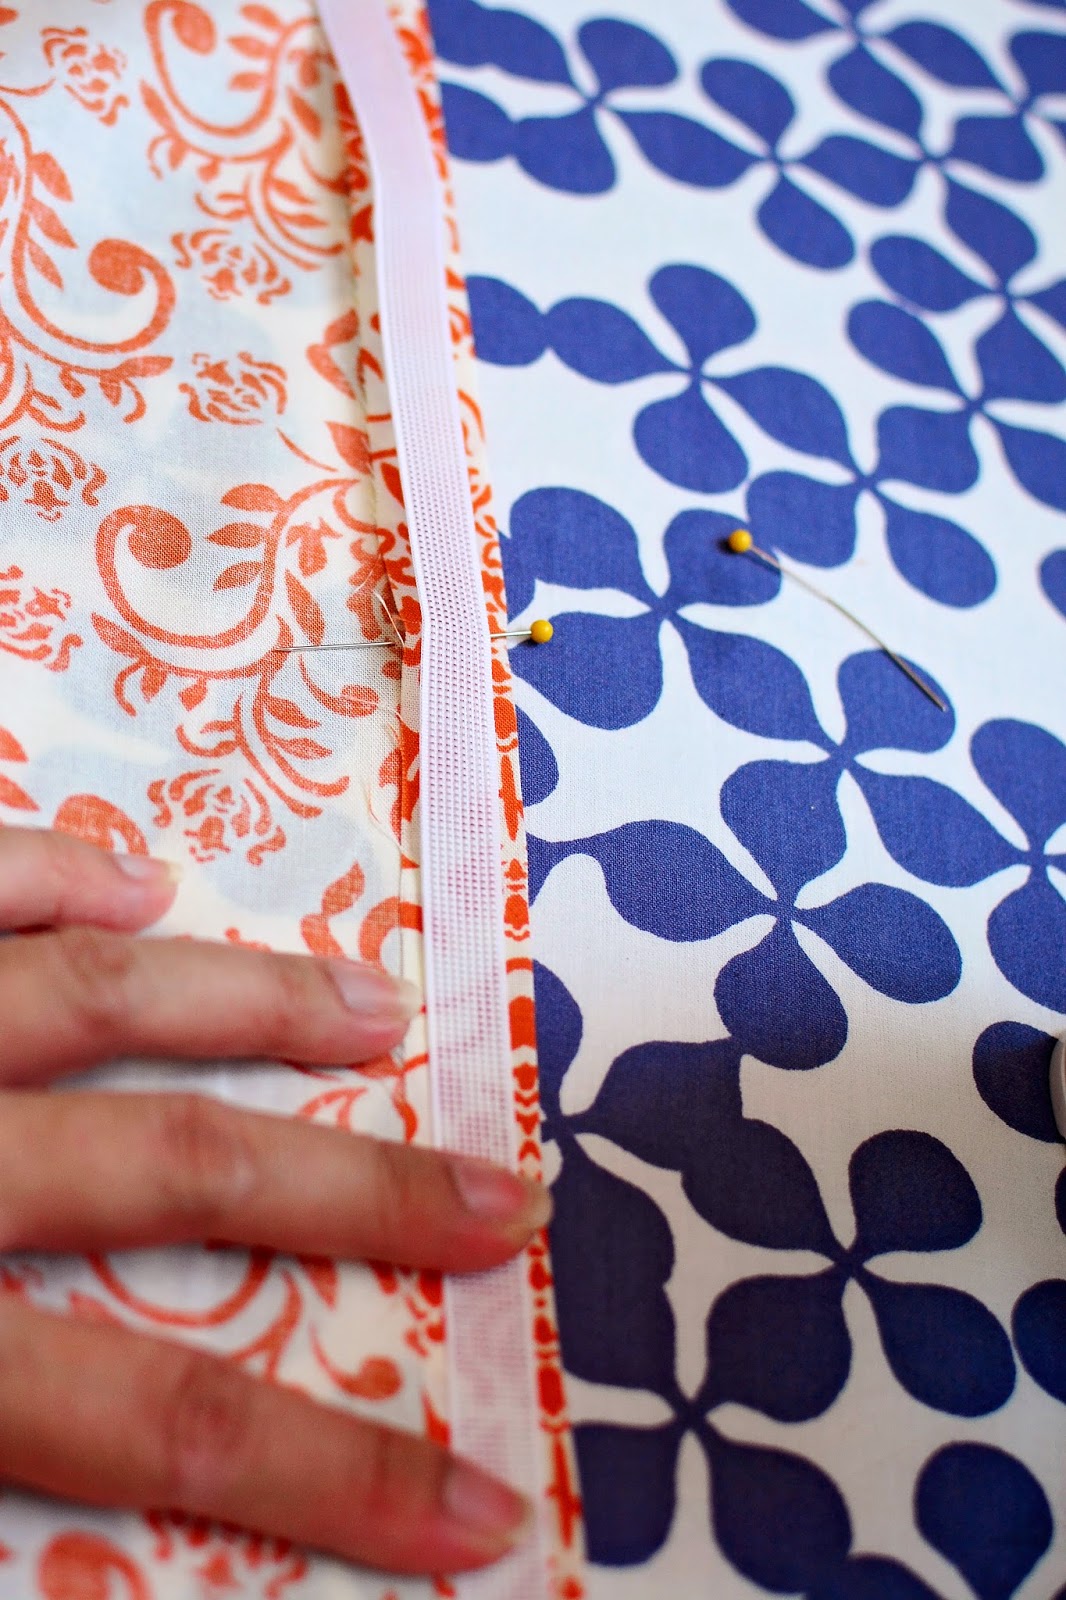


6) Add straps and sew along edges. (I actually forgot this step so I sewed the strap on top of my already sewn edges. Again, I was too lazy to take apart and redo!)
7) Press along all other remaining edges and sew


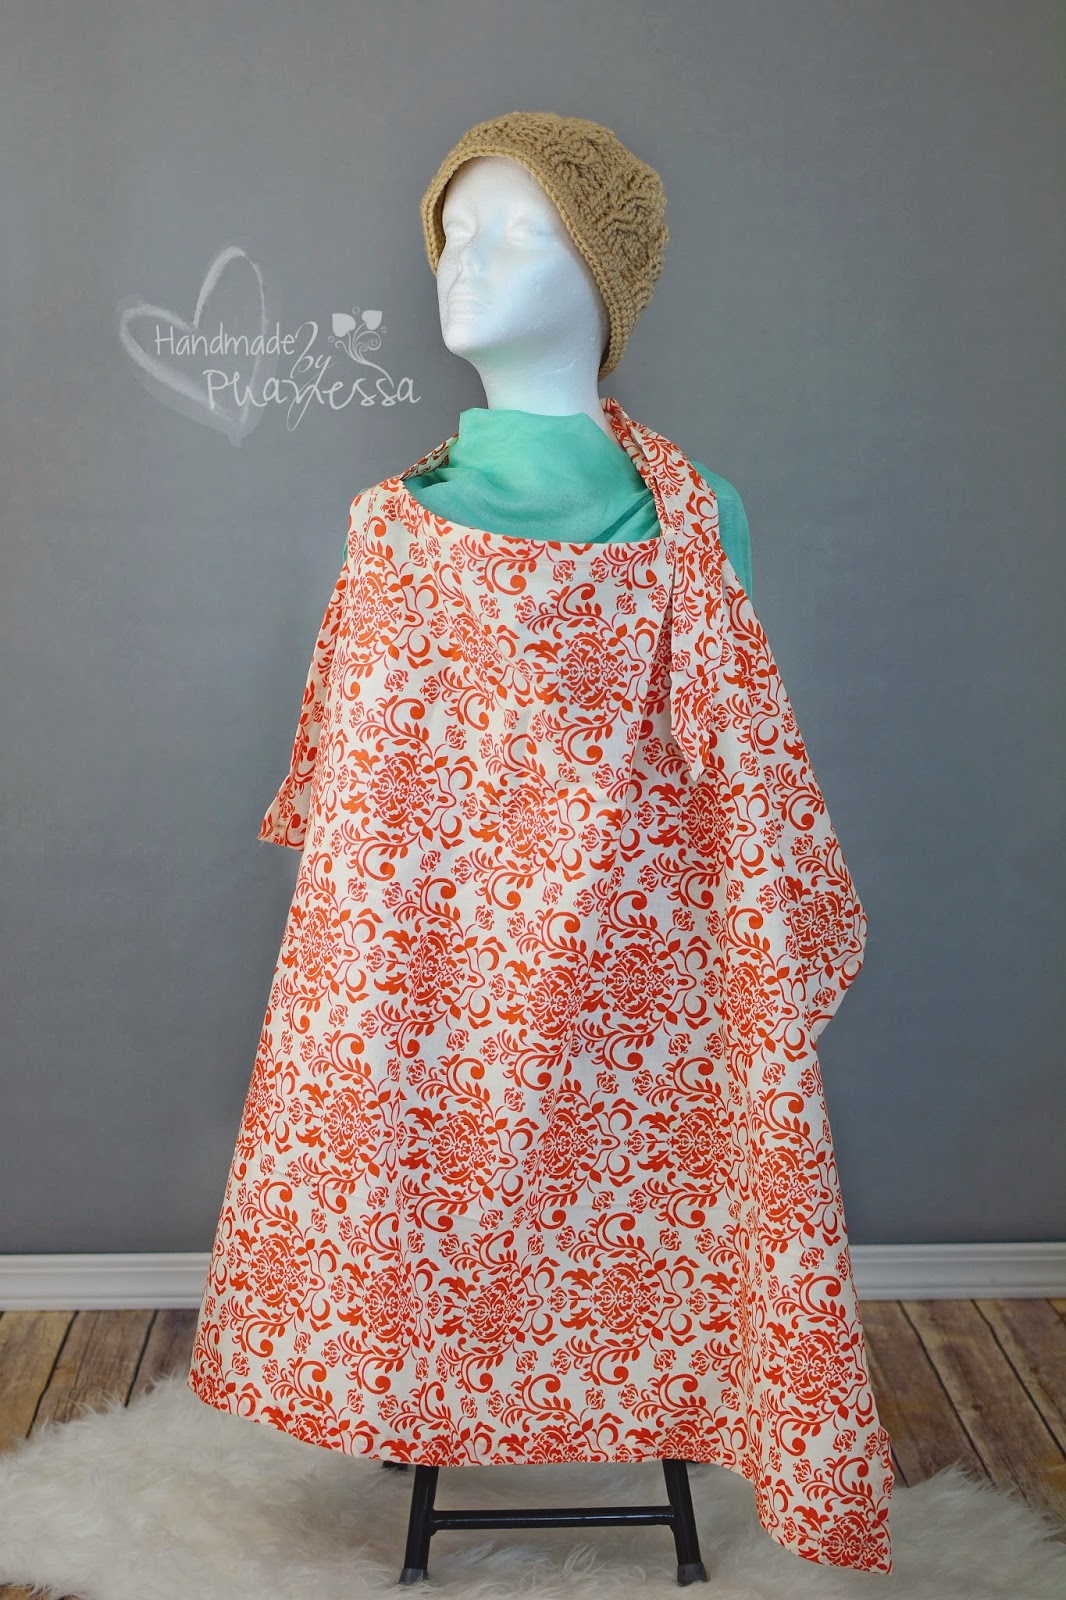
My very cooperative head wearing the final product!

No comments:
Post a Comment