I love the natural look of cream and whites in photos. As i'm thinking of ways to get my boys in one photo (probably not going to happen!) with their new baby brother (coming in September), I want them to be shirtless and matching... I was thinking jeans or white/cream pants. I was in the fabric section of Walmart and saw this fabric for $1.97 a yard! It was some type of thin Muslim fabric but I loved the texture and lightness of it.

I pinned this tutorial so long ago because I really meant to make some pants for my oldest son but I just never got around to it. I wanted shorts so I didn't print the pattern...
I dug out a pair of shorts for each of my boys and used that as a template for the pattern.

Lay shorts on fabric and trace around shorts. I layered 4 pieces so I can cut them all at once.


Cut around leaving some space for seam allowance. You should have 2 sets, one for the front of the shorts & one for the back of the shorts (4 total).

Sew each set from waist to crotch.

Surge raw edges (I don't have a surger)
or use zig zag stitches to sew the edges.
I had too big of an allowance too so I had to trim it.


Iron seams and open them both up. With right side on the inside, line up the shorts to start sewing the inside seam.
Pin the inside of shorts (I forgot to take a photo) and sew insides of shorts from crotch down to opening of short legs. Iron seams again.

Next, pin the sides of the shorts & sew. Don't forget to surge or sew zig zag stitches on the edges.


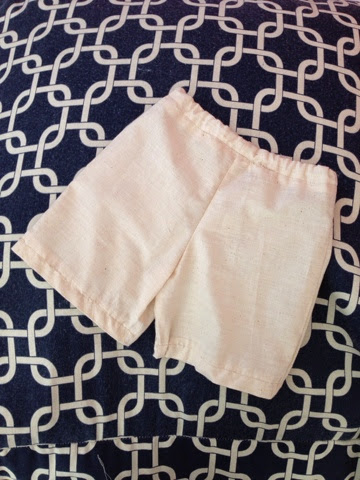
Next, surge or sew zig zag stitches to the edges of the waist and fold towards inside leaving enough room for the elastic band. I placed the elastic on shorts to make sure I fold it far enough down.


Sew the shorts leaving an opening to insert elastic later.

Use a safety pin to pin the elastic and feed it through.


Make sure the elastic is not twisted
and pin both ends together so you can sew it.


My little man with the shorts on.


No comments:
Post a Comment